Imagine a table filled with delicate mini cakes, each one a tiny burst of flavor and charm. These single-serving desserts are perfect for birthdays, bridal showers, or cozy tea parties with friends. There’s something special about biting into a perfectly portioned treat, crafted with love. This mini cakes recipe delivers adorable sweets in under 30 minutes, using a specialized pan to ensure uniform size.
What makes these small cakes so irresistible? They’re versatile, easy to customize, and simple to make, even for beginners. From classic vanilla to vibrant designs with colorful frosting and edible flowers, you can tailor these treats to any occasion. Plus, they’re ideal for portion control, no more fighting over the biggest slice! Whether you’re a seasoned baker or just starting, this recipe will guide you to create fluffy, moist mini cakes that steal the show.
Ready to dive in? Grab your baking tools, and let’s whip up a batch of these delightful desserts that spark joy!
Table of Contents
Why You’ll Love This Recipe
Who can resist the charm of mini cakes? These bite-sized treats are more than just dessert, they’re pure joy in every bite! Here’s why this recipe will become your go-to. First, these petite cakes offer perfect portion control, so everyone gets their own treat without slicing a larger cake. They’re ideal for parties, weddings, or a quiet night in.
The versatility of mini cakes is unmatched. Whether you’re creating elegant designs with buttercream swirls or keeping it simple with powdered sugar, you can match any vibe. Plus, they’re easy to make, even for beginners, thanks to straightforward steps and a trusty pan. Finally, these sweets spark creativity and connection, imagine the smiles when you share them with loved ones. Ready to make every moment sweeter? This recipe opens the door to flawless, irresistible desserts!
Ingredients
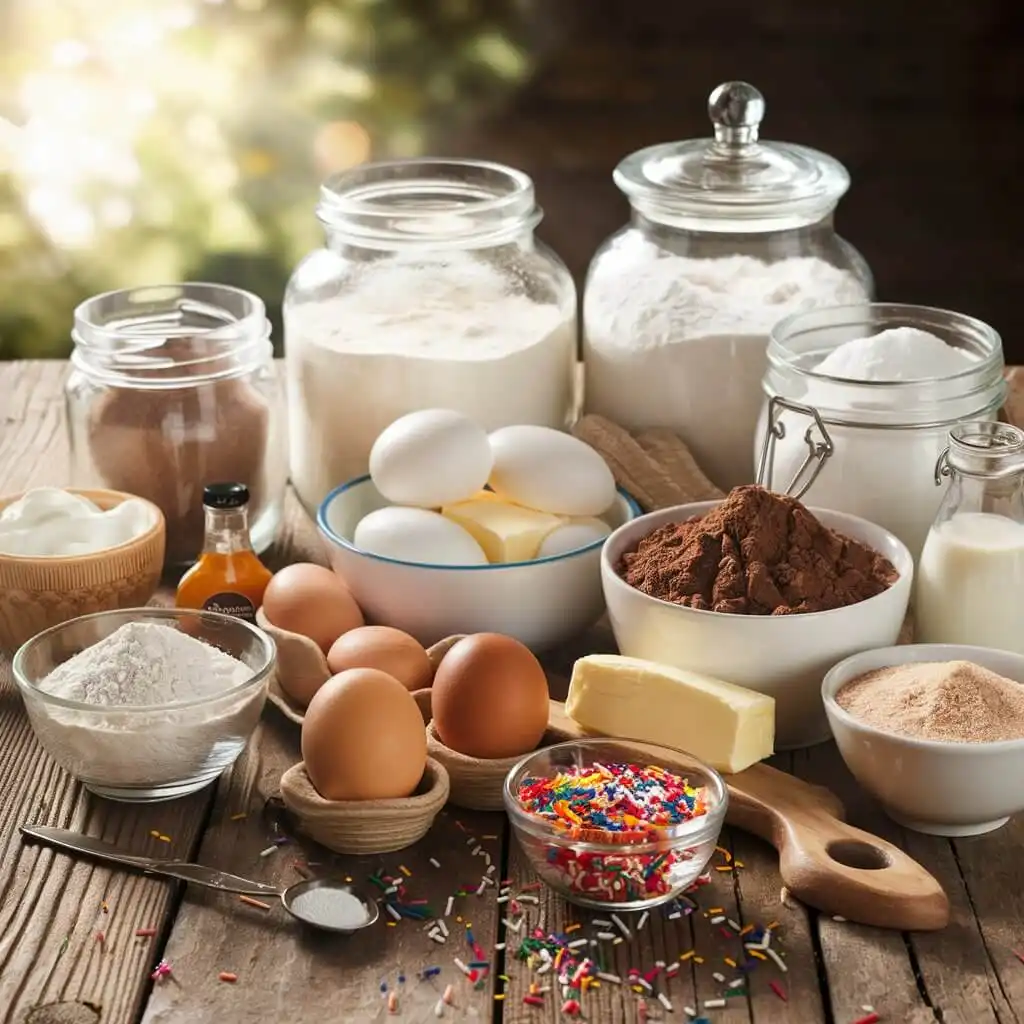
Get ready to create delightful mini cakes with this simple list of ingredients! This recipe yields 12 perfectly portioned treats, baked in a specialized pan for consistent size. Each ingredient delivers fluffy, moist results with rich, buttery flavor. Plus, I’ve included substitutions for various dietary needs, so everyone can enjoy these bite-sized desserts.
Ingredients for Mini Cakes (Makes 12)
- 1 ½ cups all-purpose flour: Provides structure for light, tender cakes.
- 1 tsp baking powder: Helps the cakes rise, creating a light and fluffy texture.
- ¼ tsp baking soda: Works with sour cream for extra lift.
- ¼ tsp salt: Adds depth to the flavor and helps counteract excessive sweetness.
- ½ cup unsalted butter, softened: Adds richness and a creamy base.
- ¾ cup granulated sugar: Sweetens without overpowering.
- 2 large eggs: Bind the batter and add moisture.
- 1 tsp vanilla extract: Adds a cozy, familiar taste.
- ½ cup whole milk: Maintains moisture and tenderness in every bite.
- ¼ cup sour cream: The secret to extra softness and a slight tang.
For the Vanilla Buttercream Frosting
- 1 cup unsalted butter, softened: Creates smooth, spreadable frosting.
- 3 cups powdered sugar, sifted: Ensures a silky texture.
- 1 tsp vanilla extract: Adds depth to the frosting.
- 2–3 tbsp heavy cream: Adjusts consistency for piping or spreading.
- Pinch of salt: Balances sweetness for a perfect finish.
Optional Toppings
- Sprinkles, edible flowers, or fresh berries for stunning designs.
- Food coloring for vibrant, eye-catching frosting.
Dietary Substitutions
- Gluten-Free: Swap flour for a 1:1 gluten-free baking blend.
- Dairy-Free: Use plant-based butter and milk (e.g., almond or oat) and replace sour cream with coconut yogurt.
- Lower Sugar: Reduce sugar to ½ cup and use a sugar-free frosting alternative.
Pro Tip: Let your ingredients come to room temp for a silky, smooth batter. Choose a non-stick or silicone mini cakes pan for best results!

Step-by-Step Instructions
This reliable recipe makes baking mini cakes incredibly easy! These single-serving treats come together in under 30 minutes, delivering fluffy, moist results for any occasion. Whether you’re using a specialized pan for uniform size or experimenting with creative designs, these steps will guide you to success. Let’s make some irresistible bite-sized desserts!
- Preheat and Prep (5 minutes)
Preheat your oven to 350°F (175°C). Grease a 12-cavity pan (2-inch molds work best) with butter or non-stick spray, or line with paper liners for easy removal. This helps the cakes release cleanly and look flawless. - Mix Dry Ingredients (3 minutes)
Whisk together 1 ½ cups flour, 1 tsp baking powder, ¼ tsp baking soda, and ¼ tsp salt in a medium bowl. This blend creates a light, airy structure. Set aside. - Cream Butter and Sugar (4 minutes)
Using a large bowl, beat ½ cup of softened butter with ¾ cup of sugar until the mixture becomes light and airy, for approximately 2 to 3 minutes. Add 2 large eggs one at a time, beating well, then mix in 1 tsp vanilla extract. - Combine Wet and Dry Ingredients (5 minutes)
Slowly add the dry mixture to the butter mixture in three parts, alternating with ½ cup milk, beginning and ending with the dry ingredients. Fold in ¼ cup sour cream for moist, tender results. Stir only until blended to prevent the cakes from becoming heavy. - Fill the Pan (5 minutes)
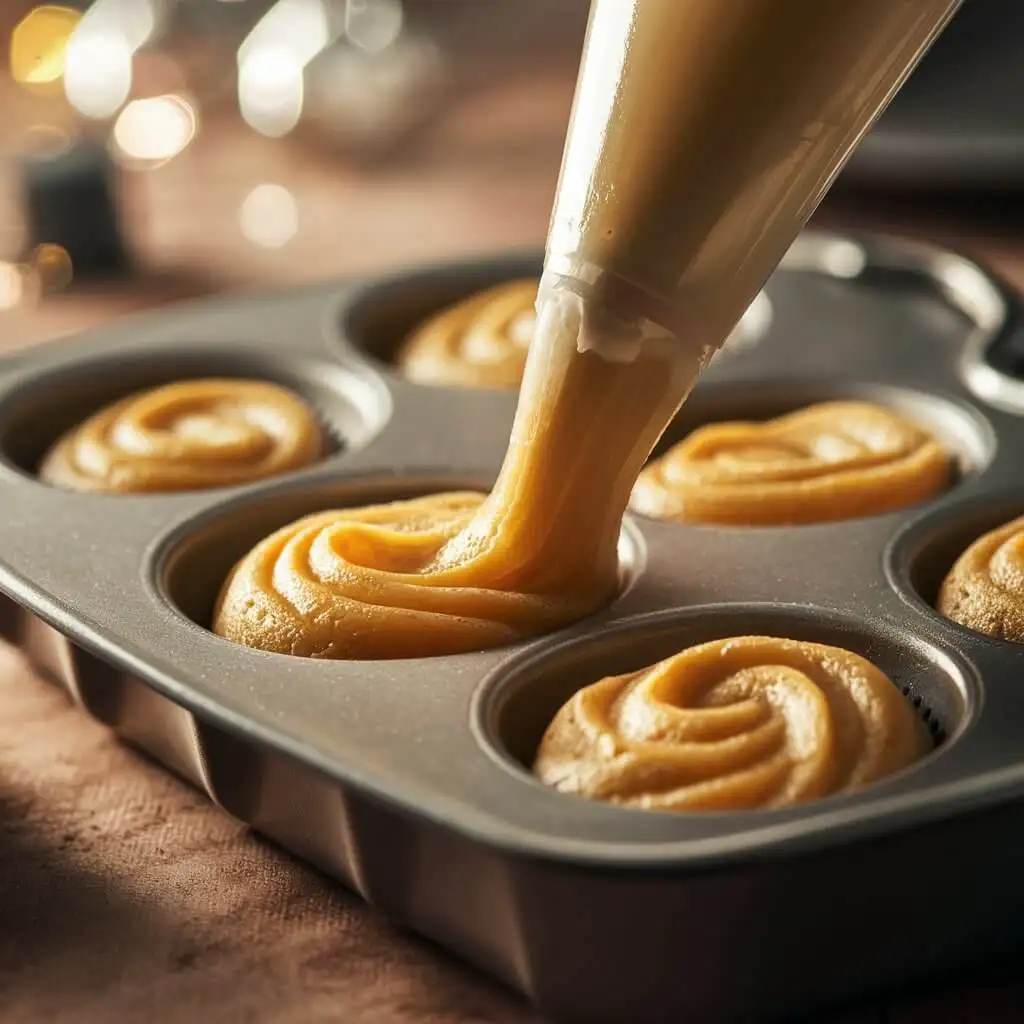
Use a cookie scoop to fill each cavity about ⅔ full for consistent size. Smooth the tops with a spatula for a polished look. - Bake (12–15 minutes)
Bake for 12 to 15 minutes, or until a toothpick inserted in the middle emerges clean and dry. Cool in the pan for 5 minutes, then transfer to a cooling rack. - Make the Vanilla Buttercream (5 minutes)
Beat 1 cup softened butter until creamy. Add 3 cups sifted powdered sugar, 1 tsp vanilla extract, 2–3 tbsp heavy cream, and a pinch of salt. Mix until smooth. Add food coloring for vibrant designs. - Decorate (5–10 minutes)
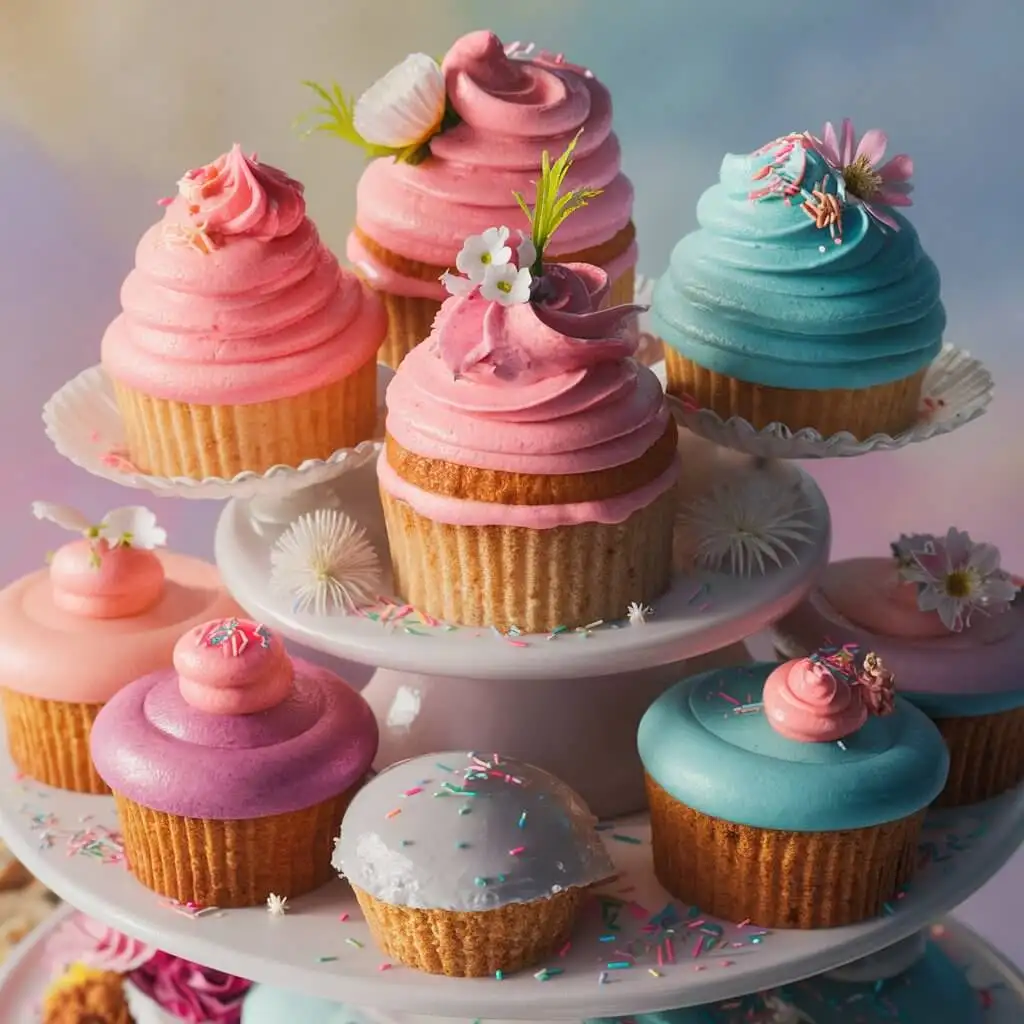
Pipe or spread buttercream onto cooled cakes. Try swirls, rosettes, or top with sprinkles, edible flowers, or berries for a stunning presentation.
Expert Tips
- Consistent Sizing: For evenly baked cakes, use a cookie scoop to keep the portions consistent.
- Prevent Sticking: Lightly flour the pan after greasing.
- Frosting Ease: Chill buttercream for 10 minutes before piping for cleaner designs.
Troubleshooting
- Cakes Sticking? Grease well or use liners.
- Uneven Baking? Rotate the pan halfway through baking.
- Dense Cakes? Avoid overmixing the batter.
Pair these treats with a homemade strawberry compote for a fruity twist!

Tips and Variations
Making mini cakes is as fun as it is delicious! These ideas will help you customize your treats for any occasion. From flavor twists to dietary swaps, here’s how to make your desserts unforgettable.
Tips for Perfect Mini Cakes
- Consistent Size: Use a small cookie scoop to distribute batter evenly, ensuring uniform baking.
- Smooth Frosting: Chill buttercream for 10 minutes before piping for clean designs.
- Prevent Drying: Brush cooled cakes with simple syrup (equal parts sugar and water, heated until dissolved).
- Quick Cleanup: Use paper liners for easy removal and minimal mess.
Flavor Variations
- Lemon Zest Delight: Add 1 tbsp lemon zest to the batter and a splash of lemon juice to the frosting.
- Chocolate Bliss: Substitute ¼ cup of flour with cocoa powder and finish with a layer of chocolate ganache.
- Almond Dream: Use almond extract instead of vanilla for a nutty flavor.
Dietary Swaps
- Gluten-Free: Use a 1:1 gluten-free flour blend.
- Vegan: Substitute butter with plant-based margarine, eggs with flaxseed eggs (1 tbsp ground flaxseed + 3 tbsp water per egg), and milk with oat or almond milk.
- Low-Sugar: Cut sugar to ½ cup and use sugar-free frosting.
Time-Saving Ideas
- Prep Ahead: Bake cakes a day in advance and store unfrosted. Frost before serving.
- Store-Bought Boost: Use pre-made frosting, then add sprinkles or berries.
Creative Designs
- Themed Decor: Use red and green frosting for Christmas or pastel hues for Easter.
- Elegant Touches: Add a luxurious touch with edible gold leaf or delicate fresh flowers.
Experiment and have fun to make each batch uniquely yours!
Storage
Keep your mini cakes fresh with these simple tips! Proper storage ensures they stay moist and flavorful, whether for a party or leftovers.
- Room Temperature: Place unfrosted or lightly frosted cakes in a sealed container and store for up to 2 days to keep them moist.
- Refrigeration: Keep frosted cakes with buttercream or perishable toppings in the fridge for up to 5 days. Let the cake sit out for 15 minutes at room temperature before slicing and serving.
- Freezing: Wrap unfrosted cakes well in plastic wrap, then in a freezer-safe bag, and freeze for up to 3 months. Thaw before frosting.
Pro Tip: Store decorated cakes in a single layer to preserve their designs. These simple tips will help preserve the freshness of your baked goods!
How to Serve
Serving mini cakes is all about making them shine! These petite treats are naturally charming, with endless possibilities for presentation. Here’s how to wow your guests.
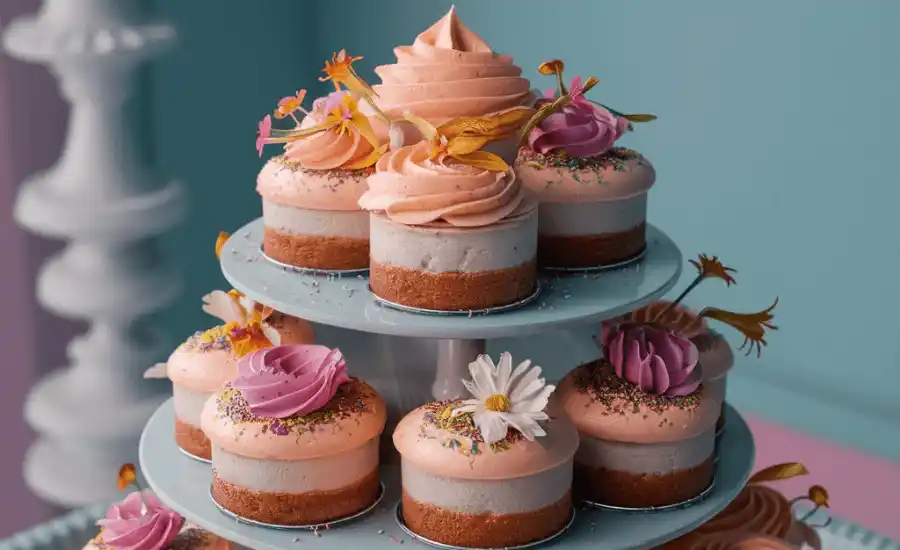
- Elegant Display: Arrange cakes on a tiered stand for a centerpiece at weddings or birthdays.
- Pairing Perfection: Enjoy with a cup of coffee, a pot of tea. Pair with homemade lemon curd for dipping.
- Gifting Idea: Package in decorative boxes or cellophane with a ribbon for a thoughtful gift.
- Occasion-Specific: Customize designs for events, pastel frosting for Easter or red velvet for Valentine’s Day.
These treats are conversation starters! Serve with love, and enjoy the joy it brings to your guests.

Nutritional Breakdown
Curious about the nutritional profile of these mini cakes? Here’s a breakdown for one cake with vanilla buttercream, approximate and varying by toppings or substitutions.
- Calories: 220 kcal
- Fat: 12g (7g saturated fat from butter and cream)
- Carbohydrates: 28g (mostly sugar and flour)
- Protein: 2g
- Sugar: 20g
- Sodium: 90mg
Note: Values change with swaps like gluten-free flour or sugar-free frosting. Measure ingredients for precision. These treats are perfect for satisfying your sweet tooth without overindulging!
FAQs
Got questions about making mini cakes? Here are answers to common queries, from choosing the right pan to creating stunning designs.
1. What are those mini cakes called?
These treats go by names like petit fours (delicate, bite-sized cakes for fancy events), fairy cakes (a British term for small cupcakes), or mini cupcakes. This recipe focuses on versatile, single-serving treats.
2. What do you call a tiny cake?
A tiny cake might be a petit four, fairy cake, or mini cupcake. Petit fours are often glazed, while fairy cakes are simpler, like these mini cakes. They’re perfect for portion control!
3. What is the word for a mini cake?
Common terms are mini cake, petit four, or fairy cake. Each describes small, single-serving cakes. This recipe is easy and customizable.
4. What are the names for tiny cakes?
Names include petit fours, fairy cakes, mini cupcakes, or mini cakes. Some call them “tea cakes” for tea parties or weddings.
5. Can I make mini cakes without a pan?
Yes! Use a muffin tin with liners, filling ⅓ full to mimic the size. Or try silicone molds or cut rounds from a sheet cake. Adjust baking time.
6. How do I ensure consistent size?
Use a small cookie scoop (1–1.5 tbsp) for even batter portions. Level with a spatula for smooth tops, ideal for decorating.
7. What are some creative designs?
Pipe buttercream into swirls or rosettes, or use food coloring for ombre effects. Top with edible flowers, sprinkles, or berries. Match themes like Christmas or baby showers.
8. Can I make mini cakes gluten-free or vegan?
For gluten-free, use a 1:1 flour blend. For vegan, use plant-based butter, flaxseed eggs (1 tbsp ground flaxseed + 3 tbsp water per egg), and almond or oat milk.
9. How long do mini cakes stay fresh?
Unfrosted cakes stay fresh at room temperature for 2 days. Frosted cakes last 5 days in the fridge. Freeze unfrosted for 3 months.
10. What’s the best pan to use?
A 12-cavity pan with 2-inch molds ensures consistent size. Non-stick or silicone pans (e.g., Wilton, Nordic Ware) work well. Grease or use liners.
Conclusion
There’s nothing like sharing freshly baked mini cakes with loved ones! These petite treats are a celebration of creativity and flavor. This recipe helps you create fluffy, moist desserts with stunning designs for any occasion. Whether for a party, gifting, or a sweet moment, these cakes spark smiles. Now it’s your turn to bake! Experiment with flavors and designs, and make each batch your own.

